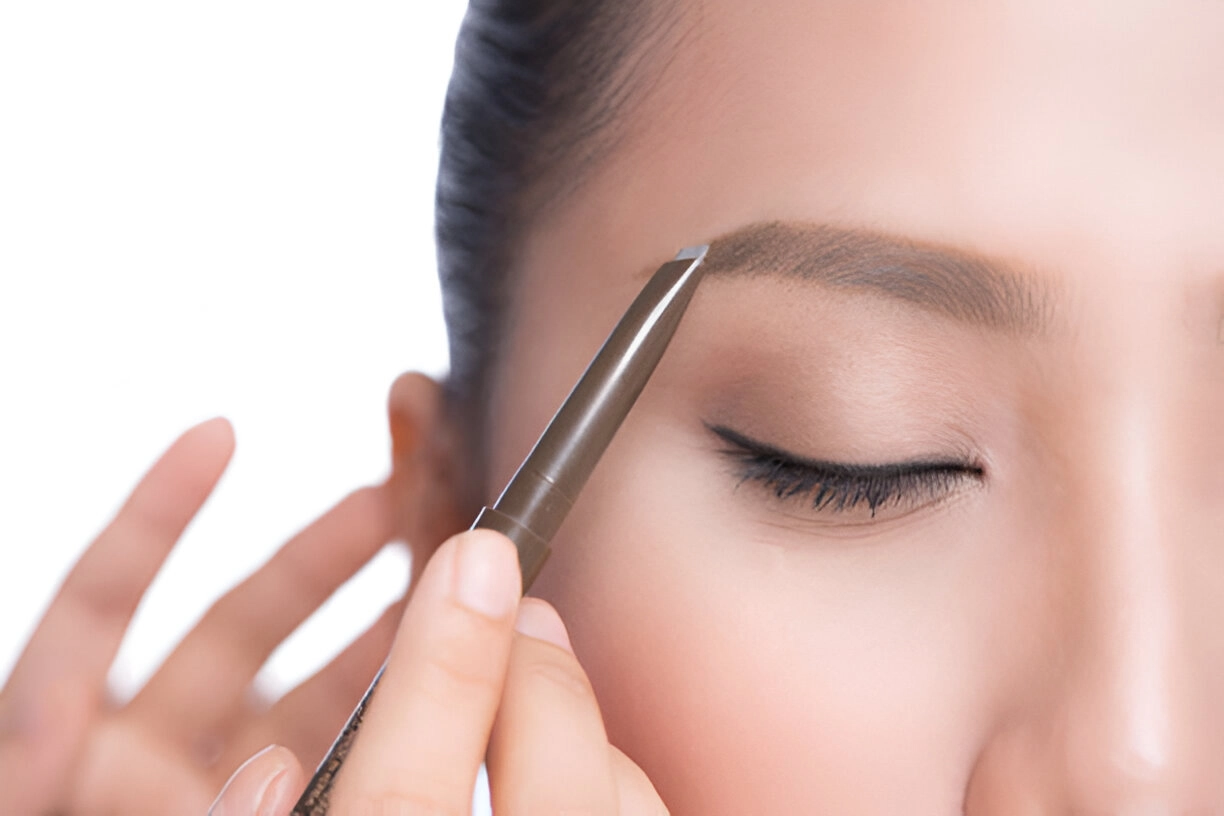
Eyebrows have a funny way of being both noticed and overlooked. But trust me, the moment they’re uneven or thin, you’ll feel like they’re shouting louder than your favorite lipstick. If fuller brows are on your wishlist, a pencil might just become your new best friend. Let’s dive into the details of how to take your brows from meh to marvelous.
Understanding Your Brows: The Starting Point
Every pair of brows has a story. Maybe yours were over-plucked during the pencil-thin trend of the 90s. Or maybe they’re naturally sparse. Wherever you’re starting, take a moment to assess their shape, fullness, and what you’d like to enhance.
Types of Brows and How They Work With Your Face
Brows are like the frames of a painting—they should complement the masterpiece (that’s you!). Here’s a quick guide:
| Brow Type | Best For | Look Achieved |
|---|---|---|
| Straight | Oval or longer faces | Balanced, softens elongated features |
| Arched | Round faces | Adds definition and angles |
| Slightly Curved | All face shapes | Natural and versatile |
| Full and Thick | Heart-shaped faces | Bold, balances narrow chins |
Choosing the Right Eyebrow Pencil
Not all pencils are created equal. There’s a world of options, but here’s what you need to know.
Types of Pencils
- Traditional Pencil: Great for beginners, these require sharpening but offer solid control.
- Mechanical Pencil: No sharpener needed, and they usually come with finer tips for precise strokes.
- Pomade Pencils: A hybrid option for those who want bold brows with added staying power.
Finding Your Match
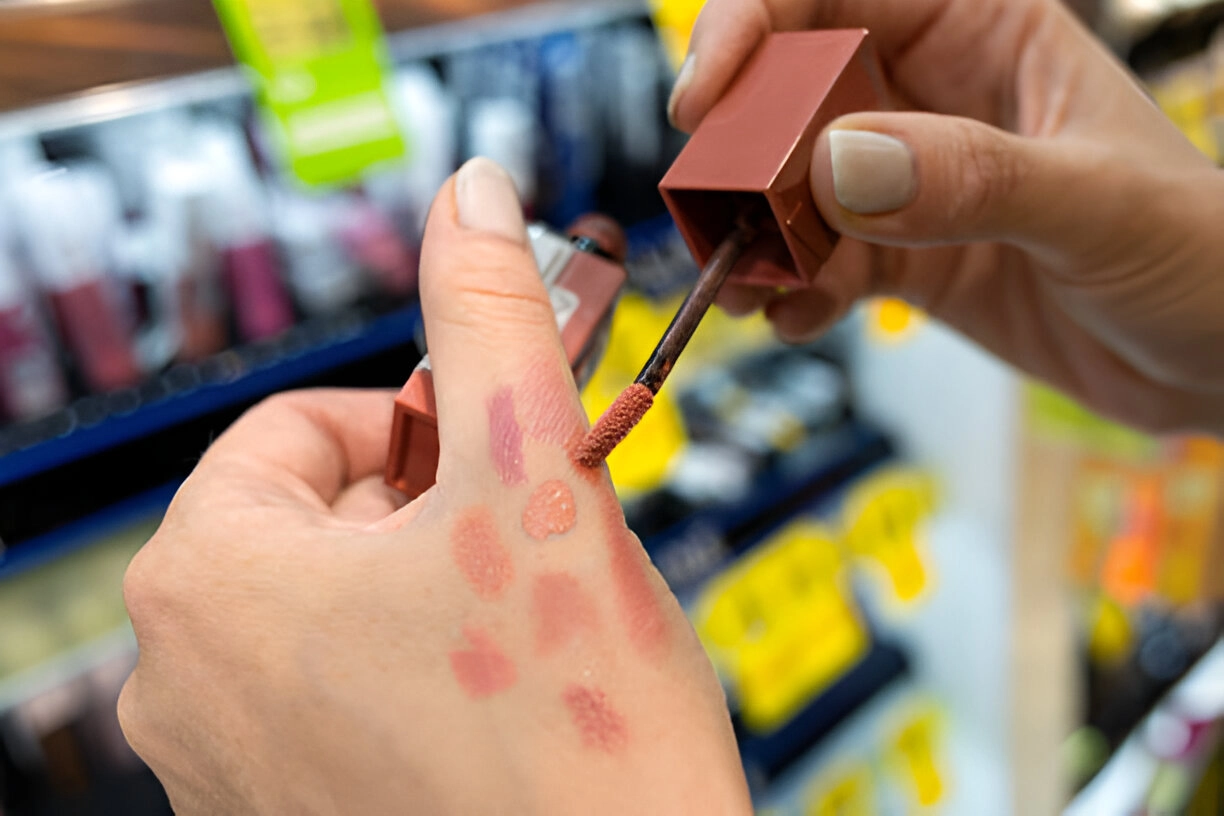
Matching your pencil shade to your natural brow color is crucial. Go slightly lighter for dark brows and slightly darker for lighter brows. If you’re unsure, test on the back of your hand to see how it complements your skin tone. Remember, brows should enhance, not overpower.
Prepping Your Brows for Perfection
Before the pencil even touches your skin, there’s a little prep work to be done. Think of this as laying the foundation before painting the masterpiece.
- Clean Slate: Start with a freshly washed face. Remove any oils or makeup around the brow area.
- Gather Your Tools: You’ll need a spoolie brush, your eyebrow pencil, and a steady hand. A magnifying mirror can be a lifesaver for details.
- Optional Primer: If you’re heading out for a long day, a bit of brow primer can keep everything in place.
The Step-by-Step Guide
Now for the good stuff. Grab your pencil—it’s time to get those brows looking fuller.
Step 1: Brush It Out
Use a spoolie brush to comb your brow hairs upward and outward. This step reveals sparse spots and helps you see the natural shape more clearly. Plus, it feels oddly therapeutic.
Step 2: Define the Borders
Starting at the bottom edge of your brow, lightly outline the shape you want. Avoid sharp, harsh lines—feather-light strokes are your friend here.
Step 3: Fill In Sparse Areas
This is where the magic happens. Use the pencil to create small, hair-like strokes in areas that need filling. Always mimic the direction of your natural hair growth for a realistic look.
Step 4: Blend and Soften
The spoolie brush makes its second appearance. Gently brush through your brows to blend the pencil strokes and soften the overall look.
Step 5: Lock It In
If desired, apply a clear or tinted brow gel. This step keeps everything in place and can add a touch of shine or dimension.
Common Mistakes (and How to Avoid Them)
Nobody’s perfect, but avoiding these common brow blunders will save you a lot of frustration:
- Overfilling: You’re going for “fuller,” not “blocky.” Stop before you cross the line.
- Ignoring Symmetry: Brows are sisters, not twins, but they shouldn’t look like distant cousins.
- Wrong Shade: Too dark can look cartoonish; too light can be barely noticeable.
Tips for Perfect Brows Every Time
- Keep It Natural: The goal is to enhance, not transform.
- Practice Makes Perfect: Like riding a bike, your first few tries might feel wobbly. Stick with it.
- Adjust for Occasion: Subtle for daytime, bolder for nights out.
Quick Reference Table: Eyebrow Pencil Techniques
| Technique | Purpose | How-To |
|---|---|---|
| Hair-Like Strokes | Mimic natural brow hairs | Short, light flicks in the direction of growth |
| Outlining | Define shape | Trace the bottom and top edges of brows |
| Blending | Soften harsh lines | Use a spoolie brush in circular motions |
Product Recommendations
Here’s where things get personal. While everyone’s preferences differ, these are some crowd-favorites to get you started:
- Budget-Friendly: NYX Professional Makeup Micro Brow Pencil
- Mid-Range: Benefit Goof Proof Brow Pencil
- Luxury: Hourglass Arch Brow Sculpting Pencil
Each offers a unique feature, from ultra-fine tips to dual-ended designs.
Closing Thoughts
Fuller brows don’t have to be a pipe dream. With the right pencil, a little patience, and this guide in your back pocket, you’ll be turning heads in no time. Got a favorite brow pencil or tip? Let me know—I’m always curious about what works for you!
Marsha Cummings is the founder of Tranquil Glam, a platform dedicated to beauty, wellness, and self-care. With a passion for skincare and massage therapy, Marsha shares expert tips, product reviews, and insights to help readers feel confident and balanced.
Through Tranquil Glam, Marsha inspires others to embrace their natural beauty and discover the power of self-care in everyday life.
