If your makeup brushes could talk, they’d probably be begging for a spa day. Neglecting them doesn’t just hurt their performance—it’s also a playground for bacteria. Cleaning your brushes doesn’t have to be a dreaded chore; with the right approach, it can be quick and satisfying. Let’s break it down step by step.
- Why Cleaning Your Makeup Brushes Matters
- How Often Should You Clean Them?
- Tools and Ingredients You’ll Need
- The Step-by-Step Cleaning Guide
- Clever Alternatives for Cleaning
- What About Makeup Sponges?
- Common Mistakes to Avoid
- Storage Tips for Clean Brushes
- When to Say Goodbye to Old Brushes
- Quick Expert Tips
- FAQs
Why Cleaning Your Makeup Brushes Matters
Think of your brushes like a bridge between your skin and your makeup. When they’re clean, everything works like a charm. But when they’re dirty? It’s like driving a car with a fogged-up windshield—messy and unpredictable. Dirty brushes can:
- Clog your pores with leftover oils and makeup debris.
- Spread bacteria, leading to breakouts.
- Mess up your makeup game by smudging or mixing old product remnants.
- Shorten your brushes’ lifespan because buildup weakens bristles over time.
No one wants to spend money replacing brushes prematurely or battling unnecessary skin issues, right?
How Often Should You Clean Them?
Here’s the golden rule: clean them regularly, but how often depends on usage. Here’s a quick cheat sheet:
| Type of Brush | Cleaning Frequency |
|---|---|
| Foundation or Concealer Brushes | After every use |
| Eyeshadow Brushes | Every 1-2 uses |
| Powder Brushes (Blush, Bronzer) | Weekly |
| Lip Brushes | After every use |
Daily spot cleaning with a quick-dry cleanser works wonders for a mid-week refresh. But deep cleaning? That’s non-negotiable once a week.
Tools and Ingredients You’ll Need
Before diving in, gather your cleaning squad:
- Mild soap or shampoo: Think baby shampoo or gentle brush cleansers.
- Lukewarm water: Not too hot—it’s a brush, not pasta!
- Brush cleaning mat or glove: Optional but helpful for stubborn residue.
- Clean towel: A soft one for drying.
- Small bowl: For mixing soap and water.
Skip harsh detergents—they’re the bullies of the brush-cleaning world.
The Step-by-Step Cleaning Guide
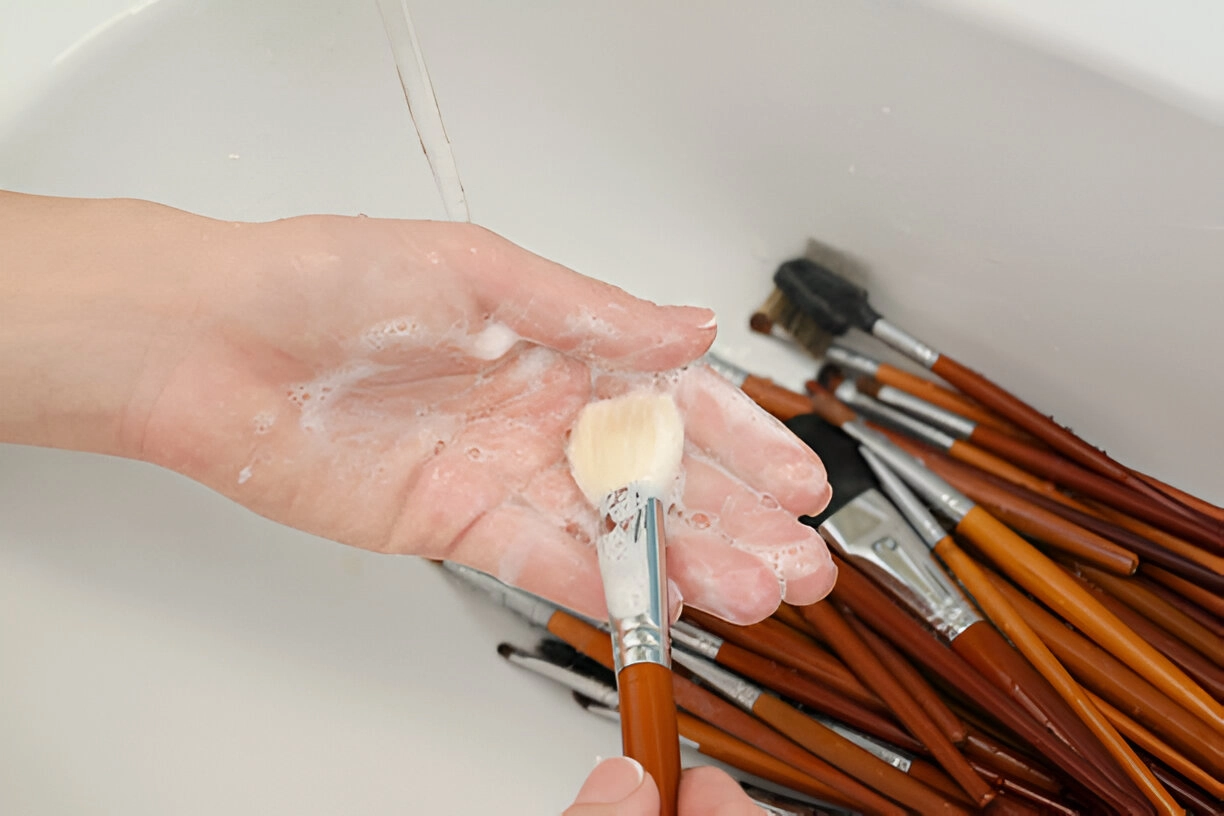
Step 1: Rinse Bristles: Hold your brush under lukewarm water, bristles facing down. This prevents water from seeping into the handle, which can loosen the glue holding it all together.
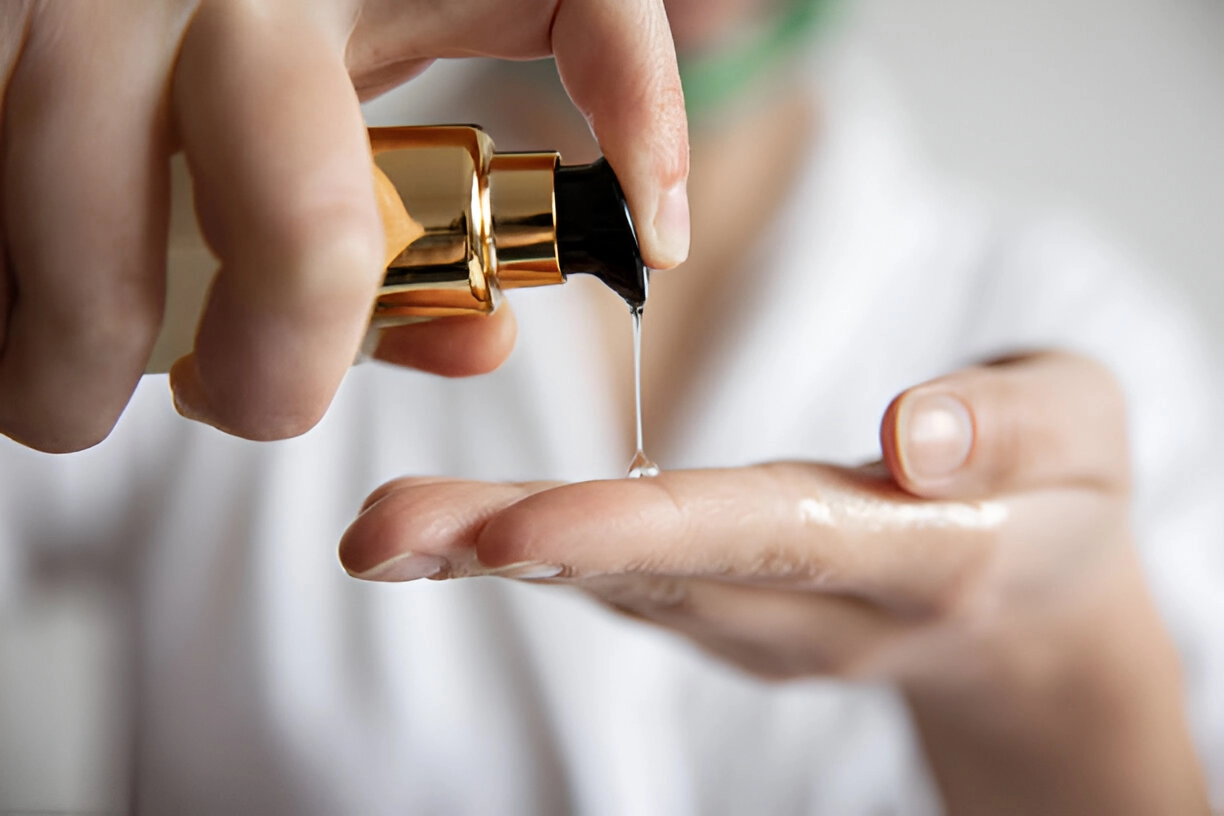
Step 2: Apply Soap: Pour a drop of cleanser into your palm or a small bowl. Swirl the bristles gently, watching old makeup swirl out like a mini rainbow. (Oddly satisfying, isn’t it?)
Step 3: Lather Up: Massage the bristles in circular motions. For tough grime, use a cleaning mat. Avoid yanking or twisting the bristles—gentleness is key here.
Step 4: Rinse Thoroughly: Rinse again under lukewarm water. Keep going until the water runs clear. It’s tempting to rush, but leftover soap can make bristles stiff.
Step 5: Squeeze and Shape: Lightly squeeze out excess water. Then reshape the bristles to their original form. It’s like brushing your hair—nobody likes frizz.
Step 6: Lay Flat to Dry: Place the brush on a clean towel, bristles hanging off the edge of a table. This lets air circulate around them. Avoid drying them upright; water dripping into the handle can cause damage.
Clever Alternatives for Cleaning
If you’re out of brush cleanser, don’t panic. Here are some handy alternatives:
| Alternative | How to Use |
|---|---|
| Dish Soap + Olive Oil | Mix equal parts for a deep clean that also conditions bristles. |
| Baby Shampoo | Gentle enough for bristles, tough enough for makeup residue. |
| Vinegar + Lemon | A natural disinfectant, but be sure to rinse well to avoid lingering scents. |
What About Makeup Sponges?
Sponges are like magnets for foundation and bacteria. Clean them weekly using similar steps:
- Wet the sponge thoroughly.
- Squeeze a dollop of cleanser into it.
- Massage under running water until no product remains.
- Squeeze out excess water and let it air dry.
Pro tip: Microwave damp sponges for 30 seconds to kill bacteria. Just make sure they’re not dry, or you’ll end up with sponge toast!
Common Mistakes to Avoid
Let’s save you from some rookie mistakes:
- Soaking the entire brush: This damages the handle and loosens the glue.
- Using hot water: It can warp bristles and damage the glue.
- Drying brushes upright: Water trickling into the handle is a surefire way to ruin your brushes.
Storage Tips for Clean Brushes
Clean brushes deserve clean homes. Here’s how to store them properly:
- Use a brush holder or organizer to keep them upright and separated.
- Store them in a dry, dust-free area.
- Avoid tossing them into makeup bags where they’ll rub against dirty products.
For travel, use protective brush pouches to keep them clean and intact.
When to Say Goodbye to Old Brushes
Sometimes, even with the best care, it’s time to part ways. Replace your brushes if:
- Bristles start shedding excessively.
- They lose their shape or become scratchy.
- No amount of cleaning removes all residue.
Think of it as letting go of an old sweater—it served its purpose, but it’s time for an upgrade.
Quick Expert Tips
- Spot clean daily to minimize buildup.
- Rotate between brushes to extend their lifespan.
- Invest in high-quality brushes—they’re worth it in the long run.
FAQs
Can I use rubbing alcohol to clean brushes?
It’s fine for a quick disinfecting wipe-down, but not for deep cleaning. It can dry out bristles.
How do I keep brushes smelling fresh?
Add a drop of lavender oil to your rinse water.
Is sharing brushes really that bad?
Yes! It’s like sharing a toothbrush. Just don’t.

Marsha Cummings is the founder of Tranquil Glam, a platform dedicated to beauty, wellness, and self-care. With a passion for skincare and massage therapy, Marsha shares expert tips, product reviews, and insights to help readers feel confident and balanced.
Through Tranquil Glam, Marsha inspires others to embrace their natural beauty and discover the power of self-care in everyday life.
