When it comes to liquid foundation, technique matters just as much as the product. It’s not just about slapping it on and hoping for the best—it’s an art that can transform your look from average to polished. Let’s get right into the nitty-gritty of applying liquid foundation flawlessly.
Understanding Liquid Foundation
Liquid foundation isn’t one-size-fits-all. Whether you’re after a natural glow or full-on coverage, picking the right formula is half the battle.
Types of Liquid Foundation
Here’s a quick breakdown:
| Type | Finish | Best For |
|---|---|---|
| Matte | Shine-free, velvety | Oily or combination skin |
| Dewy | Radiant, glowing | Dry or mature skin |
| Satin | Balanced, skin-like | All skin types, especially normal |
Finding Your Perfect Shade
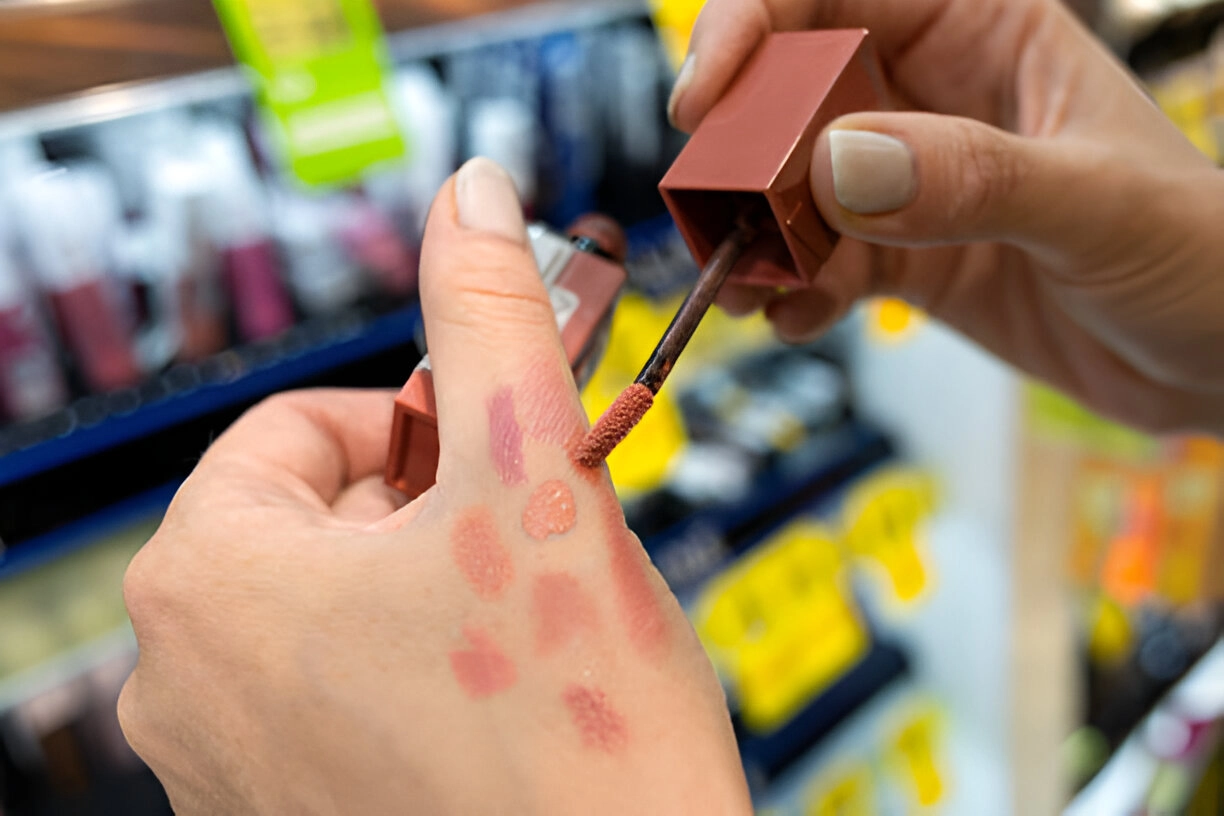
Matching your foundation shade isn’t rocket science, but it does take a bit of patience. Look at the veins on your wrist: greenish veins suggest warm undertones, bluish veins lean cool, and if it’s a toss-up, you’re neutral. Swatch three close shades along your jawline and check them in natural light.
Prepping Your Skin
Think of your face as a canvas. You wouldn’t paint on a dirty or uneven surface, right? Prepping your skin sets the stage.
Cleansing and Moisturizing
Start with clean skin—always. A gentle cleanser removes grime and preps your skin for hydration. For moisturizers, pick one that suits your skin type. If you’ve got oily skin, stick to lightweight gels. Dry skin? Go for something richer.
Priming for Success
Primer may seem like an extra step, but it’s worth it. It smooths out your skin and helps the foundation stick around. Got large pores? Use a pore-filling primer. Dealing with dryness? Try a hydrating one.
Tools of the Trade
The right tool can make all the difference. Here’s a cheat sheet to get you started:
| Tool | Best For | Tips |
|---|---|---|
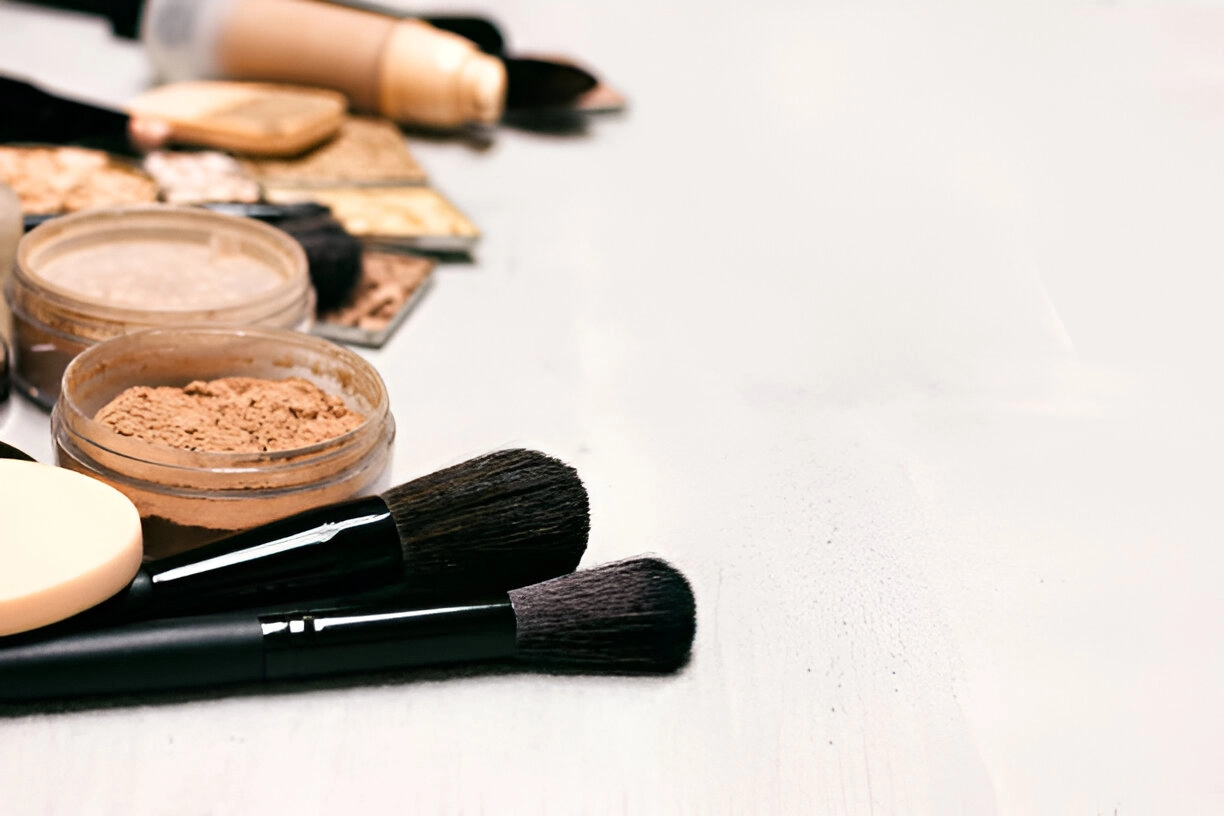
| Brushes | Precision, full coverage | Use small circular motions to avoid streaks |
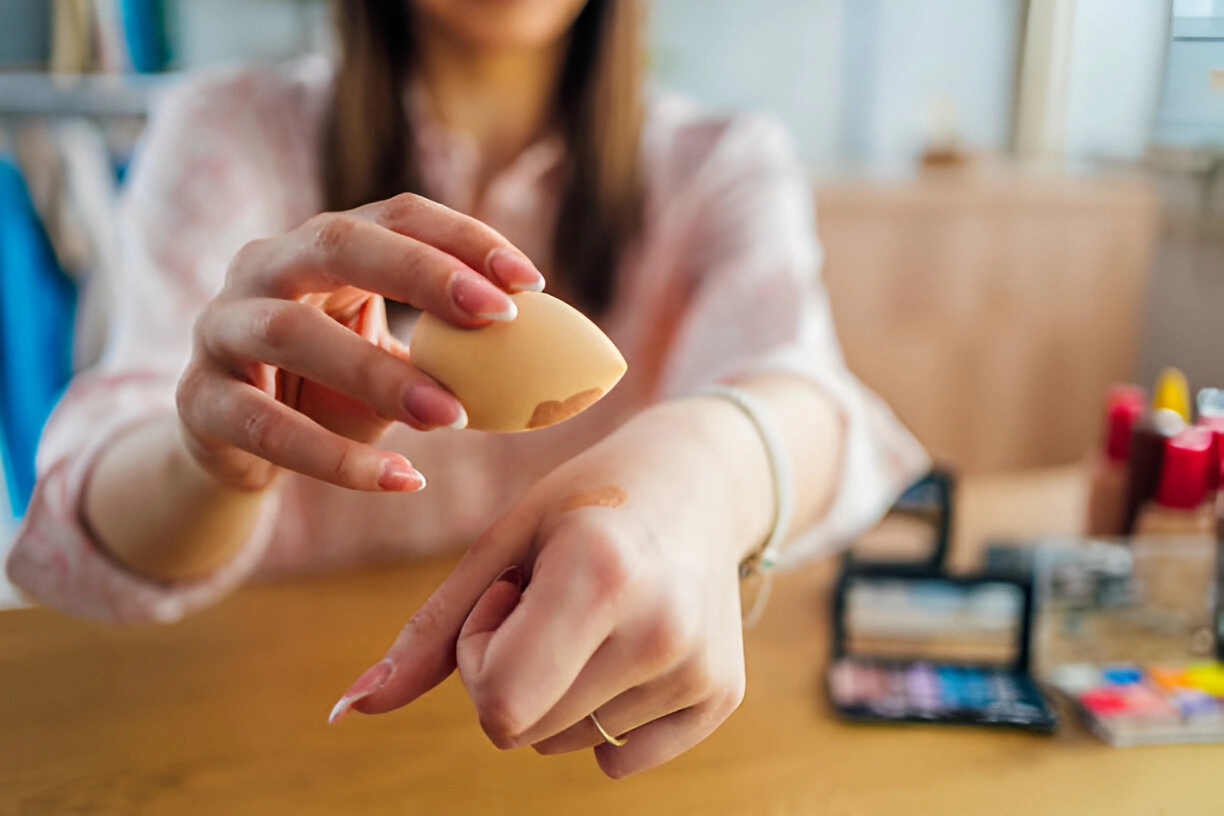
| Sponges | Natural, blended look | Damp sponges help sheer out thick formulas |
| Fingers | Quick, light application | Warmth from fingers helps melt product into the skin |
Pro tip: If you’re in a pinch, a sponge can double as a stress ball during makeup meltdowns.
Step-by-Step Foundation Application
Let’s break it down into bite-sized steps for a foolproof finish.
- Dispense a Small Amount
A dime-sized drop is plenty. You can always add more if needed. - Start in the Center
Begin at the center of your face—cheeks, nose, and forehead. Most people need the most coverage here. - Blend Outward
Whether you’re using a brush, sponge, or fingers, blend outward towards the edges of your face. This prevents that dreaded mask-like line at your jaw. - Build Where Needed
Got a spot that needs extra coverage? Dab on a bit more foundation and blend gently. - Don’t Forget the Neck
Blend down onto your neck to avoid any obvious lines. It’s like matching socks—don’t skip it!
Troubleshooting Common Issues
We’ve all had foundation days that went sideways. Here’s how to troubleshoot:
| Problem | Solution |
|---|---|
| Patchy Finish | Moisturize well before applying foundation |
| Looks Too Cakey | Use a damp sponge to lift excess product |
| Melts Off Midday | Use a mattifying primer and setting spray |
| Doesn’t Cover Blemishes | Spot conceal first, then apply foundation |
Setting the Look
Once your foundation is in place, lock it in. You wouldn’t bake cookies and skip the cooling rack, would you?
Powder Options
A translucent setting powder works wonders for oily skin. If you want extra coverage, opt for a tinted one. Use a fluffy brush for an even application.
Setting Sprays
Think of setting spray as hairspray for your face. A few spritzes can keep everything in place without making your skin feel stiff.
Extra Tips for Longevity
- Blot, Don’t Rub: If you get shiny during the day, use blotting papers. Rubbing will just mess up your masterpiece.
- Touch Up Smartly: Keep a compact powder or cushion foundation in your bag for quick fixes.
Removing Foundation the Right Way
Taking off your foundation properly is just as important as putting it on. Leftover makeup can clog pores and lead to breakouts.
- Start with a cleansing oil or balm to dissolve the product.
- Follow up with a gentle face wash.
- Don’t forget to moisturize post-cleanse.
Wrapping It All Up
There you have it—a complete guide to mastering liquid foundation. With a little practice and these tips in your back pocket, you’ll be nailing that flawless finish every single time. So, grab your tools and get to work. And remember, makeup is all about having fun—mistakes can be wiped away, but confidence sticks!

Marsha Cummings is the founder of Tranquil Glam, a platform dedicated to beauty, wellness, and self-care. With a passion for skincare and massage therapy, Marsha shares expert tips, product reviews, and insights to help readers feel confident and balanced.
Through Tranquil Glam, Marsha inspires others to embrace their natural beauty and discover the power of self-care in everyday life.
